All pipelines corrode over time of operation. This is a natural and practically unavoidable process that cannot be stopped once started. Major danger of corrosion growth is related to metal loss taking place in the corroded pipeline. Once pipe wall starts losing metal and thus wall thickness is reduced, the capability of this pipeline to withstand the excessive pressure is reducing too. Also, products of corrosion form the deposits settling on inner surface of Operating a heavily corroded pipeline is extremely dangerous, as the pipeline may burst under normal operating pressure calculated based on original design specifications of the pipeline.
Thus, either the operating pressure shall be reduced to an acceptable level or the pipeline shall be repaired. In both. So, it is vitally important for operator to know the location, dimension and significance of metal loss defects in order to plan further actions to ensure safe and trouble-free operation of the pipeline.
Main technology which is used for detection, sizing and identification of metal loss defects is magnetic inspection. This technology is the traditional choice of major pipeline operators for dozens of years, accepted by the industry globally.
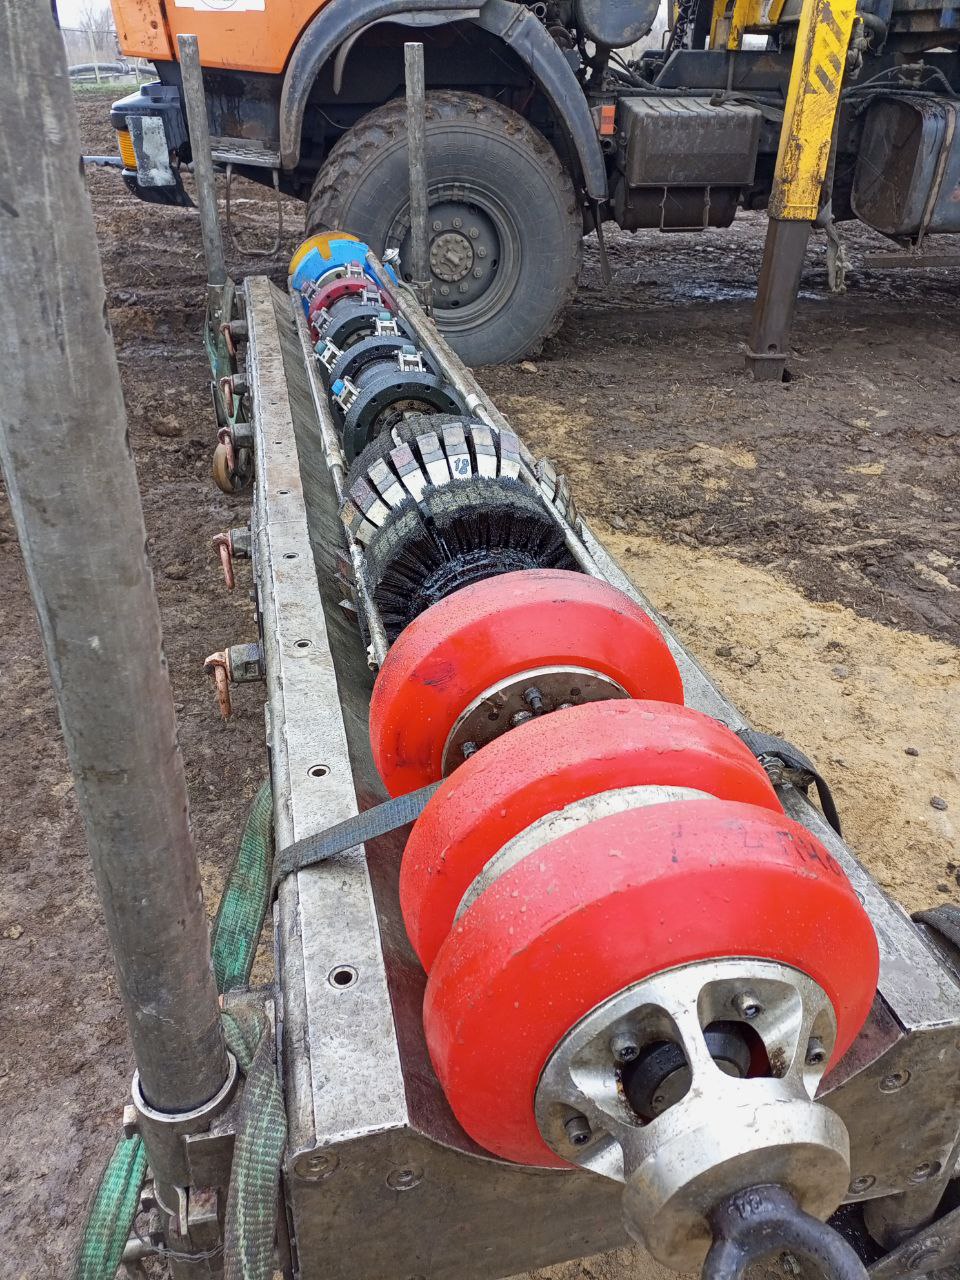
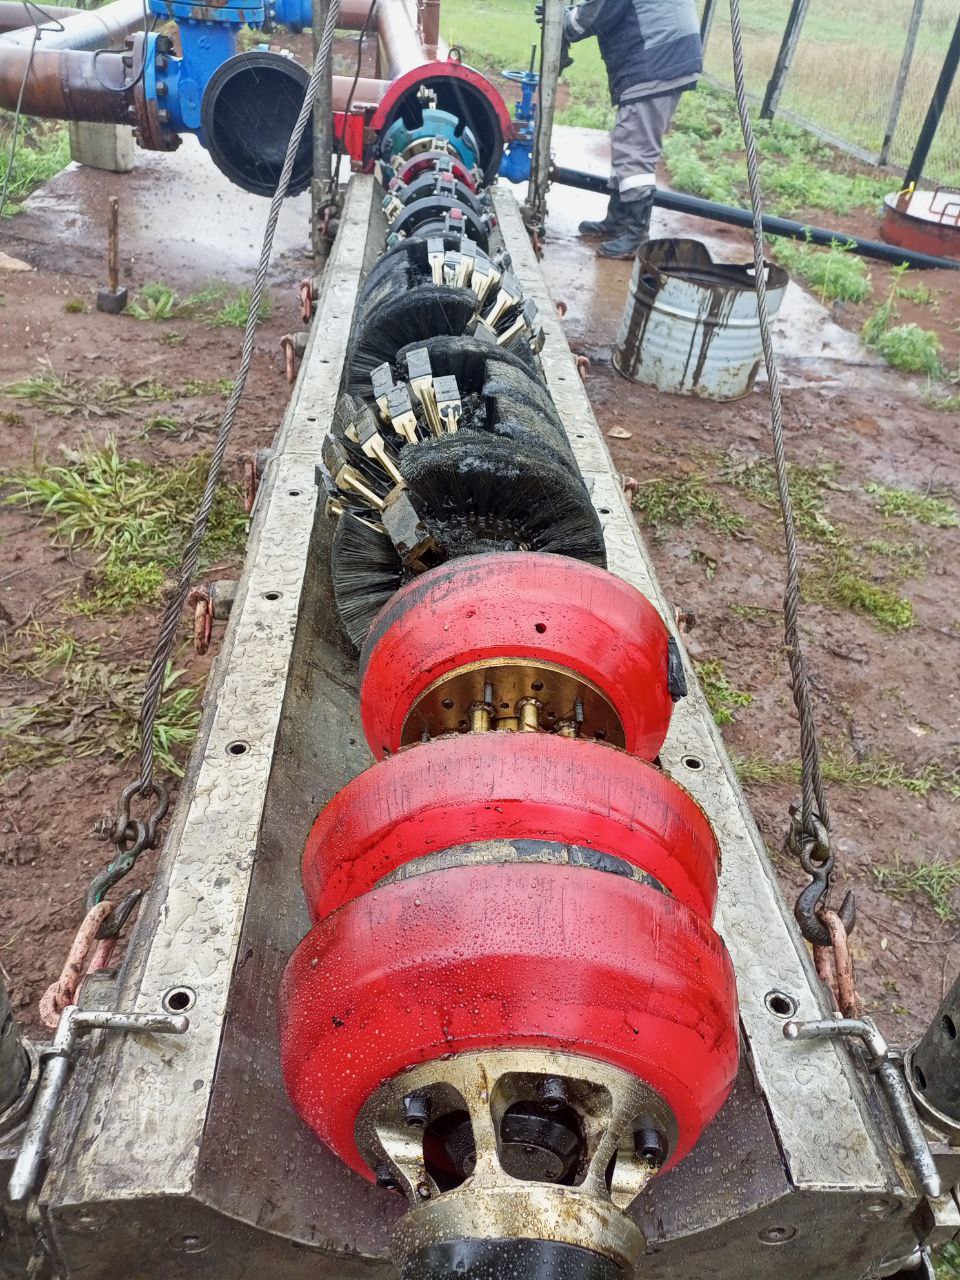
The magnetic inspection tools built on this technique are either of two configurations: MFL (axial magnetization) or TFI (circumferential magnetization)
12″ MFL tool

12″ TFI tool

LINDA’s core business is provision of metal loss inspection services on pipelines of nominal sizes from 8” to 24” using both TFI and MFL tools. We design and build our inspection tools ourselves, thus we have full control on their configuration and we can tailor them to any non-standard pipeline.
Our metal loss inspection services meet the specifications of POF (ver. 2016), our tools are ultra-high resolution and provide the most accurate and reliable data meeting highest industry standards.
Accuracy of our magnetic inspection tools:
- For corrosion defects: minimum depth detectable: 8% of wall thickness
- Depth measurement: at least +/-10% of wall thickness
- Length and width sizing: at least +/-10mm
For more detailed information – please contact us
